Shared setups · Source-backed guide
Golf Simulator for Left- and Right-Handed Players: What Needs to Move?
Choose a shared simulator around the changeover: which settings change, which hardware moves, and whether both players can actually use the same hitting area.
“Works for both” is not the same as “nothing moves”
For a household that alternates left- and right-handed players, start with changeover—not accuracy claims. A fixed overhead setup can remove the need to carry a monitor around between turns. A portable side-positioned unit can still be a sensible purchase if you accept that routine. Neither solves a room that only has swing space on one side of the ball.
Uneekor explicitly distinguishes its overhead models, where handedness is assigned to a player profile, from ground models that must also move to the opposite side of the hitting area. A permanently fixed ground unit effectively serves one handedness.
Overhead: keep the unit fixed
EYE XO / XO2 example: select the player's handedness. The ceiling position does not change between turns.
Side-mounted EYE MINI: move the unit
EYE MINI example: profile plus physical changeover. The two device positions are alternatives, not two units.
Compare the changeover routine
These packages illustrate two workflows. Compare their enclosure sizes and included equipment alongside the monitor.
| Example | Between handedness changes | Installation check before buying |
|---|---|---|
| EYE XO / SIG8 package | Change the player’s handedness profile; keep the overhead unit fixed. | The EYE XO manual specifies a 9–10 ft sensor height and 3 ft 6 in forward of the tee. Follow its reference points, not the enclosure frame. |
| EYE XO2 / SIG12 package | Same profile-based overhead workflow. Check both players’ tee and insert positions within the calibrated area. | The XO2 manual likewise specifies 9–10 ft height and 3 ft 6 in forward of the tee. Its trouble-mat layout requires particular attention for mixed-handed use. |
| EYE MINI / SIG10 package | Move the unit across the hitting area and set the player’s handedness. Keep the destination clear and accessible. | Re-establish a level surface at hitting-surface height, parallel alignment to the target line and ball detection. |
Do you recalibrate every turn? The handedness FAQ does not prescribe a full recalibration for each player change. The EYE MINI manual does require correct placement and alignment and includes calibration in initial setup. After moving the unit, follow its software prompts and confirm the changeover in your chosen simulator app.
Design the ball position before choosing the enclosure
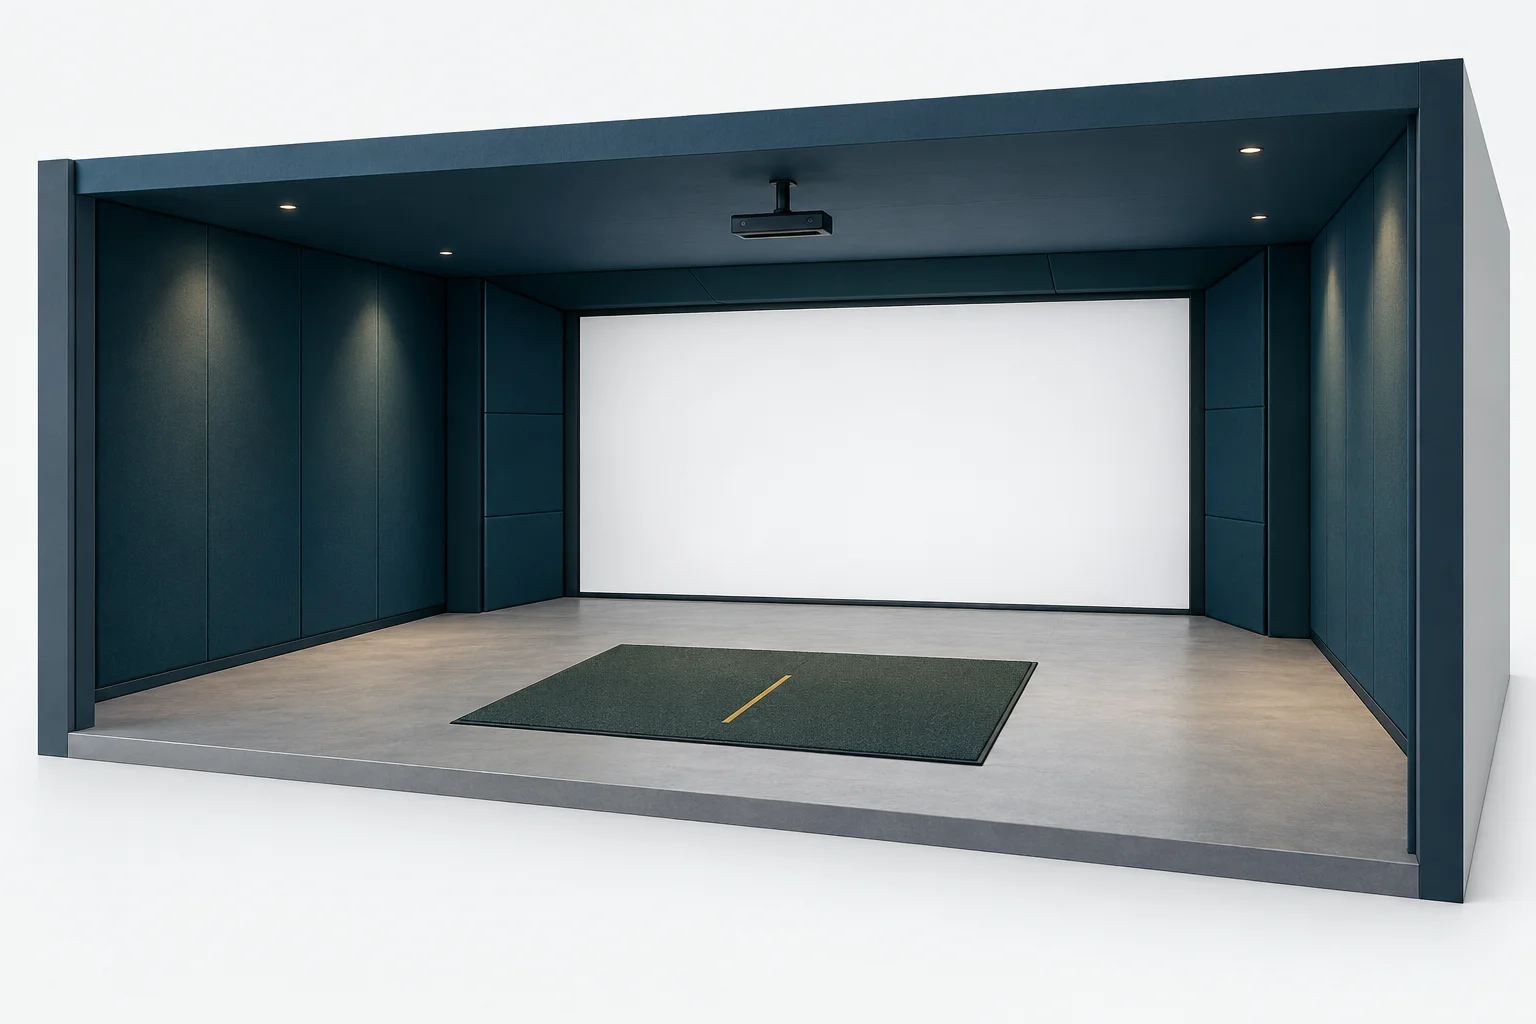
A narrow-room layout often puts the ball away from the center to give one golfer more room. That is not a neutral decision for a mixed-handed household: when the other player stands on the opposite side, the available space changes. Buying an overhead monitor does not undo that geometry.
- Mark the proposed tee and target line. Record where each player would stand, plus the longest clubs each intends to use. Do not assume a single golfer’s successful fit proves the other’s.
- Check both sides against the real room. Include walls, posts, shelving, projector hardware and garage-door equipment. Have the complete swing and installation assessed before hitting balls.
- Choose the hitting surface around both stances. Ask whether the selected mat has a usable hitting strip or tee position for each orientation. Confirm that any planned ball positions remain inside the monitor’s documented detection area.
- Check the configuration, not just the monitor name. Enclosure dimensions are physical frame measurements. Sensor mounting, ball flight, screen installation and personal swing clearance are separate constraints. See our room-size planning guide.
The EYE XO2 manual specifically asks buyers to consider both handedness needs when positioning its trouble mats. It also distinguishes the fixed calibration box from the adjustable trouble-mat position within it. Do not cut a mat insert first and assume software can make any location work afterward.
Ask for this demonstration before ordering
Send the seller your exact monitor, mat, enclosure and software shortlist, then request a walkthrough using one right-handed and one left-handed profile. This is more useful than a generic “ambidextrous” label.
- Show the player hand setting in the actual software you will use—not only the launch monitor’s practice range.
- Show whether the tee stays put, and what happens to ball detection after switching.
- For a floor unit, show where it is placed for each player, how alignment is restored, and how power/data cables are managed.
- Confirm which software plan supports the profiles and simulation features you need. Hardware handedness support does not establish the included license.
- Write down any unresolved installation or package-content question before paying. Do not treat an unspecified requirement as compatible.
Which route should you shortlist?
Frequent mixed-handed rounds: start by evaluating a fixed overhead layout, then compare the EYE XO example and EYE XO2 example against your mounting conditions and complete package needs.
Occasional handedness changes or a portable-monitor priority: consider the EYE MINI example if moving and aligning the unit is acceptable. Plan two usable monitor positions; do not permanently secure it on one side and expect shared-handedness operation.
Only one stance fits comfortably: resolve the layout first. Do not buy a more expensive monitor to compensate for missing swing space. Next, read camera versus radar placement constraints if you are expanding your shortlist, then use the complete-cost planner to account for mounting, mat, computer and software—not just the monitor.
Sources
Manufacturer documentation checked October 31, 2026.
Catalog sources and date of observation
These articles compare the retailer evidence recorded in our catalog, rather than claiming hands-on testing. Click a setup to see the full package details, unresolved uncertainties and source links. Recheck commercial terms before purchasing.
- EYE XO SIG8 Golf Simulator Package — price/specifications checked 2026-09-13. Merchant product page ↗
- EYE XO2 SIG12 Golf Simulator Package — price/specifications checked 2026-09-13. Merchant product page ↗
- EYE MINI SIG10 Golf Simulator Package — price/specifications checked 2026-09-13. Merchant product page ↗
Find your exact simulator package
Use the room-first Finder or browse all catalog entries to compare equipment, price, installation constraints and known subscription costs.